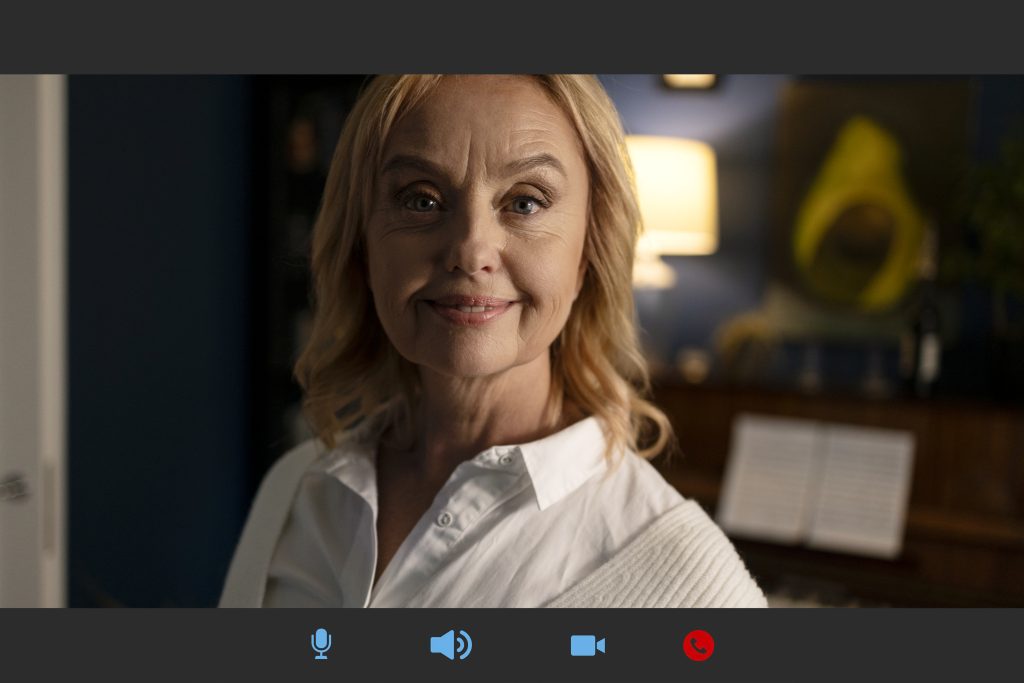
Have you ever needed to create impressive screen recordings? Whether you’re looking to make video tutorials for business training, record Zoom meetings, or capture any other videoconference events, knowing how to screen record on Windows 10 efficiently can be very beneficial.
In the past, creating screen recordings required investing in complicated software and learning how to use it. Fortunately, Microsoft has integrated a powerful and straightforward tool right into Windows 10 for this purpose.
The steps to start recording your screen on Windows 10 are quite simple. Here’s how you can do it:
- Open the Xbox Game Bar application.
- Use the Capture widget to start recording your screen.
- Click the Record button again to stop and save the recording.
Let’s delve into each of these steps in more detail.
1. How to Record Your Screen on Windows 10: Open the Game Bar
To begin screen recording in Windows 10, you need to launch the Game Bar. This Xbox-branded toolset is primarily designed for gamers, but it’s also very useful for business users.
To launch the Game Bar, click in the search area of the taskbar (next to the Start menu) and type “game bar.” The top result should be Xbox Game Bar, which you need to open.
Alternatively, you can use a handy keyboard shortcut. Hold down the Windows key and press G to quickly launch the Xbox Game Bar.
The Game Bar runs on top of whatever you’re doing (usually gaming) and uses minimal system resources, ensuring smooth performance.
2. Use the Capture Widget to Get Started
Once the Xbox Game Bar is launched, you’ll see several widgets overlaying your screen. The Capture widget is located in the top left corner. Click the Record button to start your screen recording session. You’ll also find controls for a microphone/mute toggle and a webcam toggle.
There’s also an Audio widget to manage volume levels if you have multiple audio components in your presentation. On the right side, you’ll see performance info and Xbox social content, which you probably won’t need.
Your screen recording starts as soon as you click the Record button, so ensure your desktop displays what you want and that you’re ready before starting. The efficiency of the capture widget makes screen recording on Windows 10 easier than ever.

3. Click the Record Button Again to Stop and Save
When you’re done recording, click the Record button on the Capture widget again to stop the recording. Your video will automatically save and can be found under “show all captures.” From there, you can upload your screen capture or edit it with your favorite video editing software.
Whether you need to create dynamic training videos or quickly record videoconference calls, the Xbox Game Bar is a powerful Windows 10 tool that’s easy to learn and use. We hope this guide has helped you understand how to record your screen on Windows 10.
Follow IT Specialists for more valuable tech tips like this one. If you need assistance with business IT support, don’t hesitate to reach out!


